Red Reactor
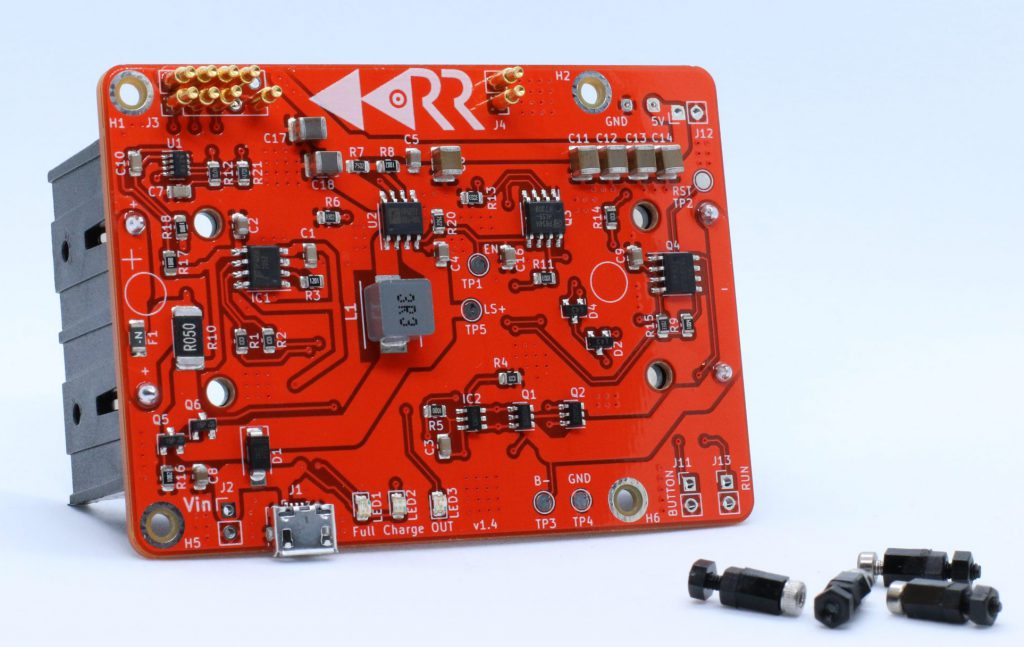
The Red Reactor is the battery board that sits under the Raspberry Pi and handles battery-backed power using 18650 cells. This is what makes the build portable without depending on a sketchy USB battery pack.
Get it HEREThis guide shows how to combine a Raspberry Pi 3B+, a Red Reactor battery board, and a HotSpotRadio-USB into a compact portable GMRSHub or AllStarLink node that can keep running when external power disappears. It also covers an optional solar add-on using a proper charge controller, because raw solar-to-battery chaos is not the move.
This setup is basically a battery-backed Pi with a USB radio attached, but these three parts are doing the heavy lifting.
The Red Reactor is the battery board that sits under the Raspberry Pi and handles battery-backed power using 18650 cells. This is what makes the build portable without depending on a sketchy USB battery pack.
Get it HERE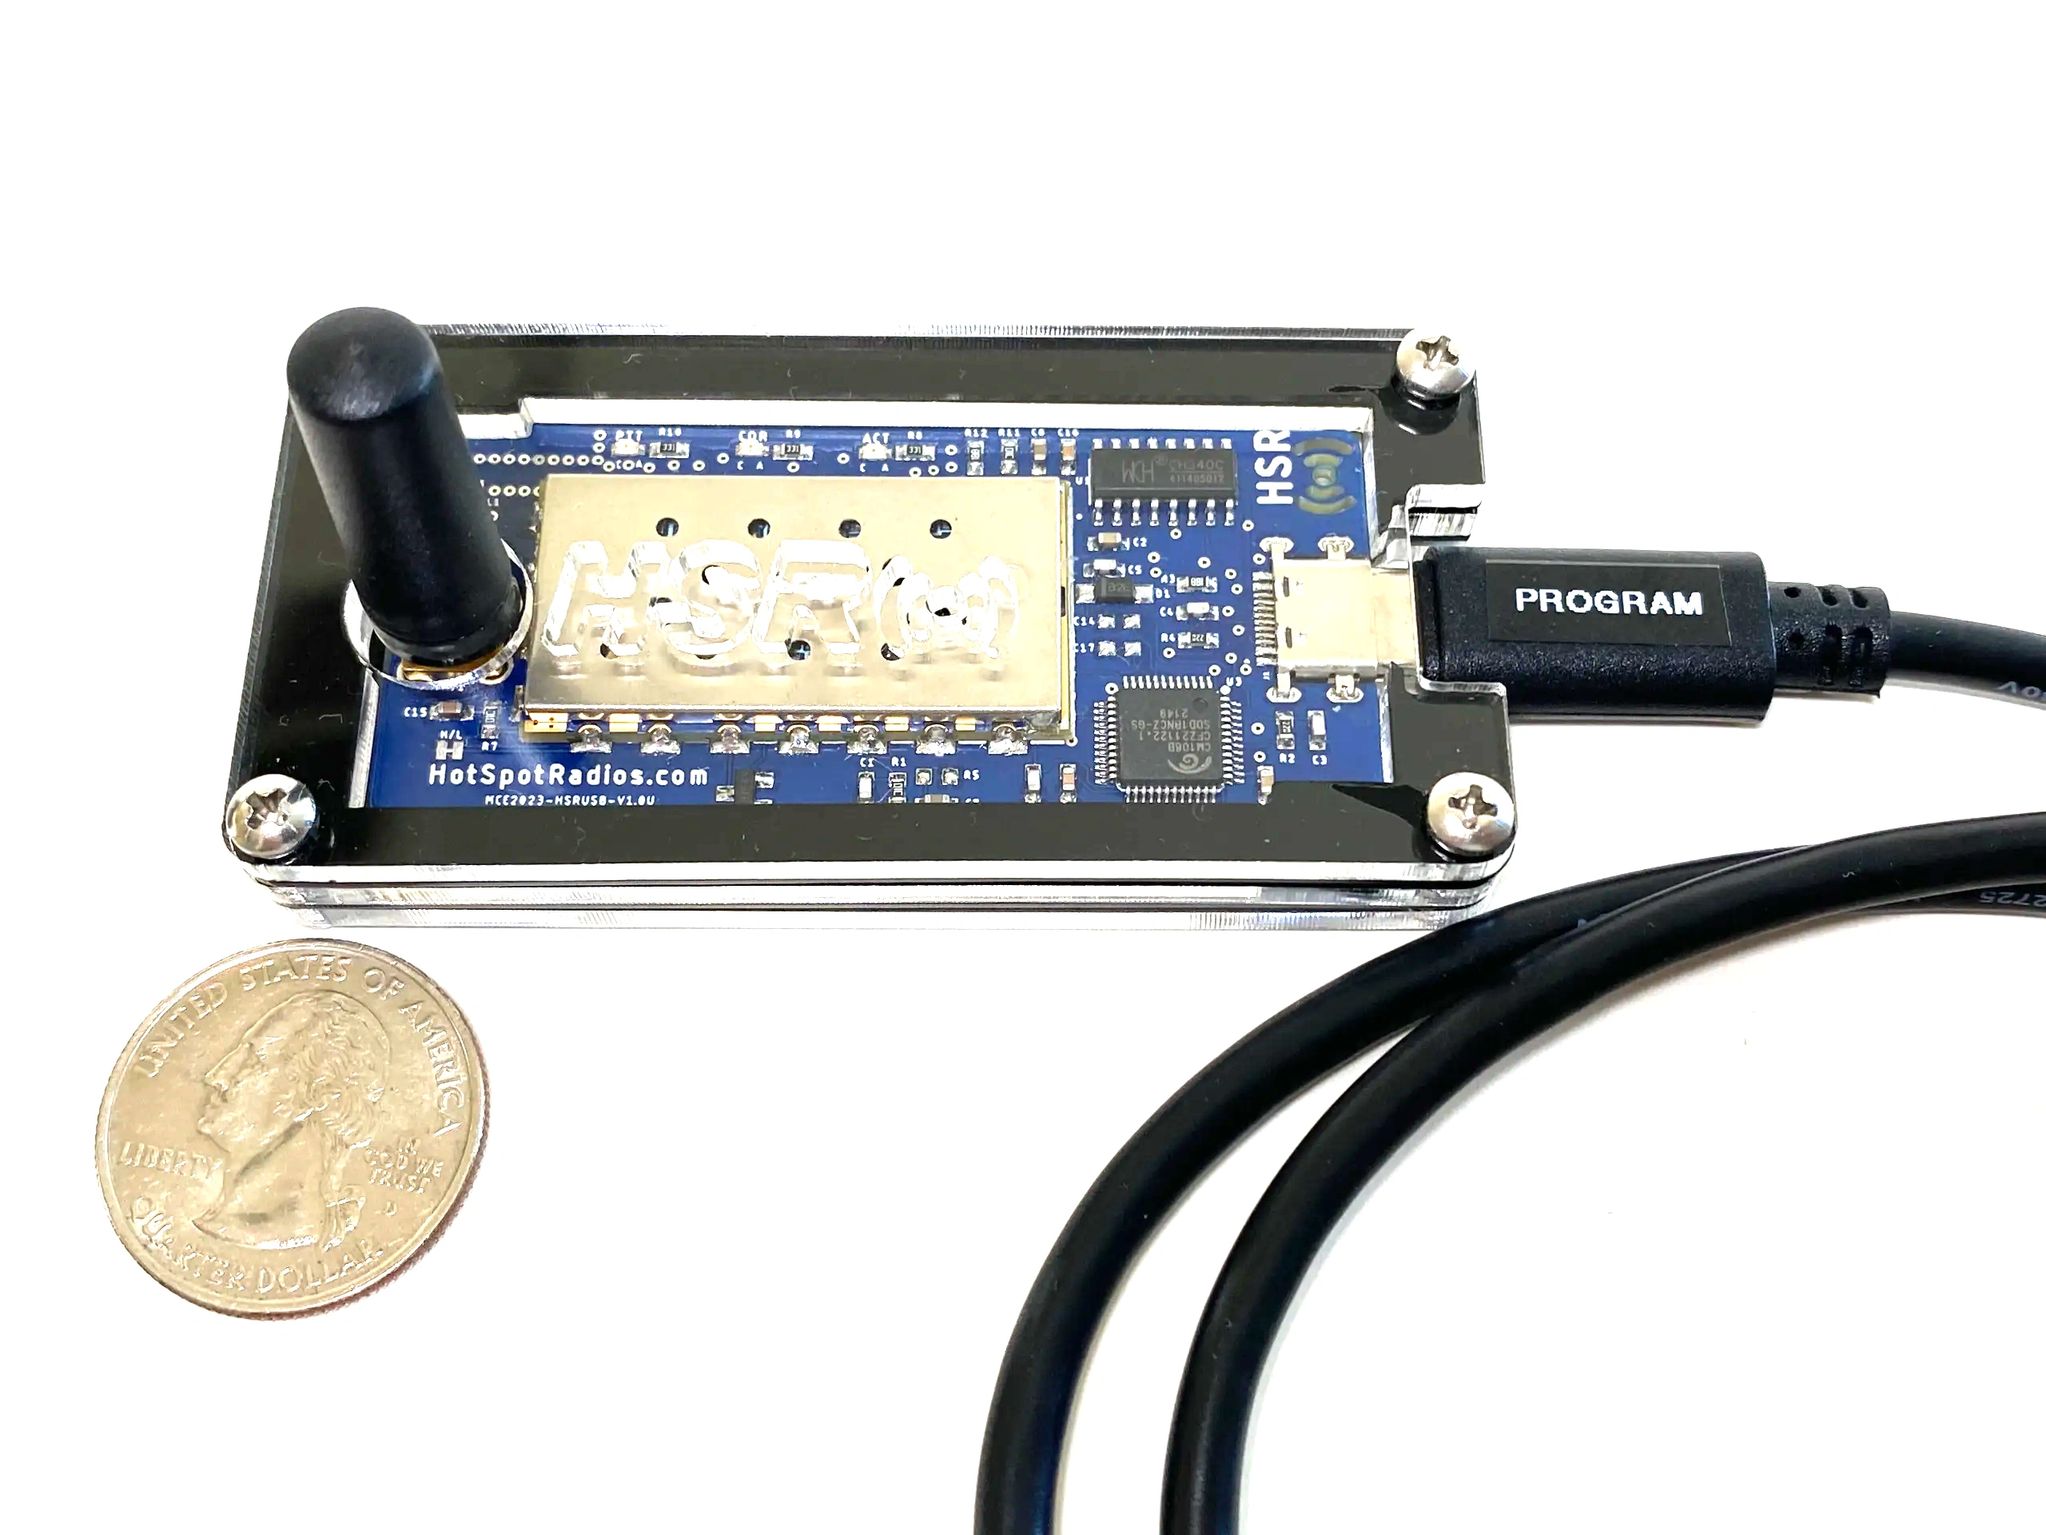
This is the USB radio interface that connects to the Pi and provides the RF side of the node. It keeps the build clean and avoids a pile of random interface parts and ugly homemade wiring.
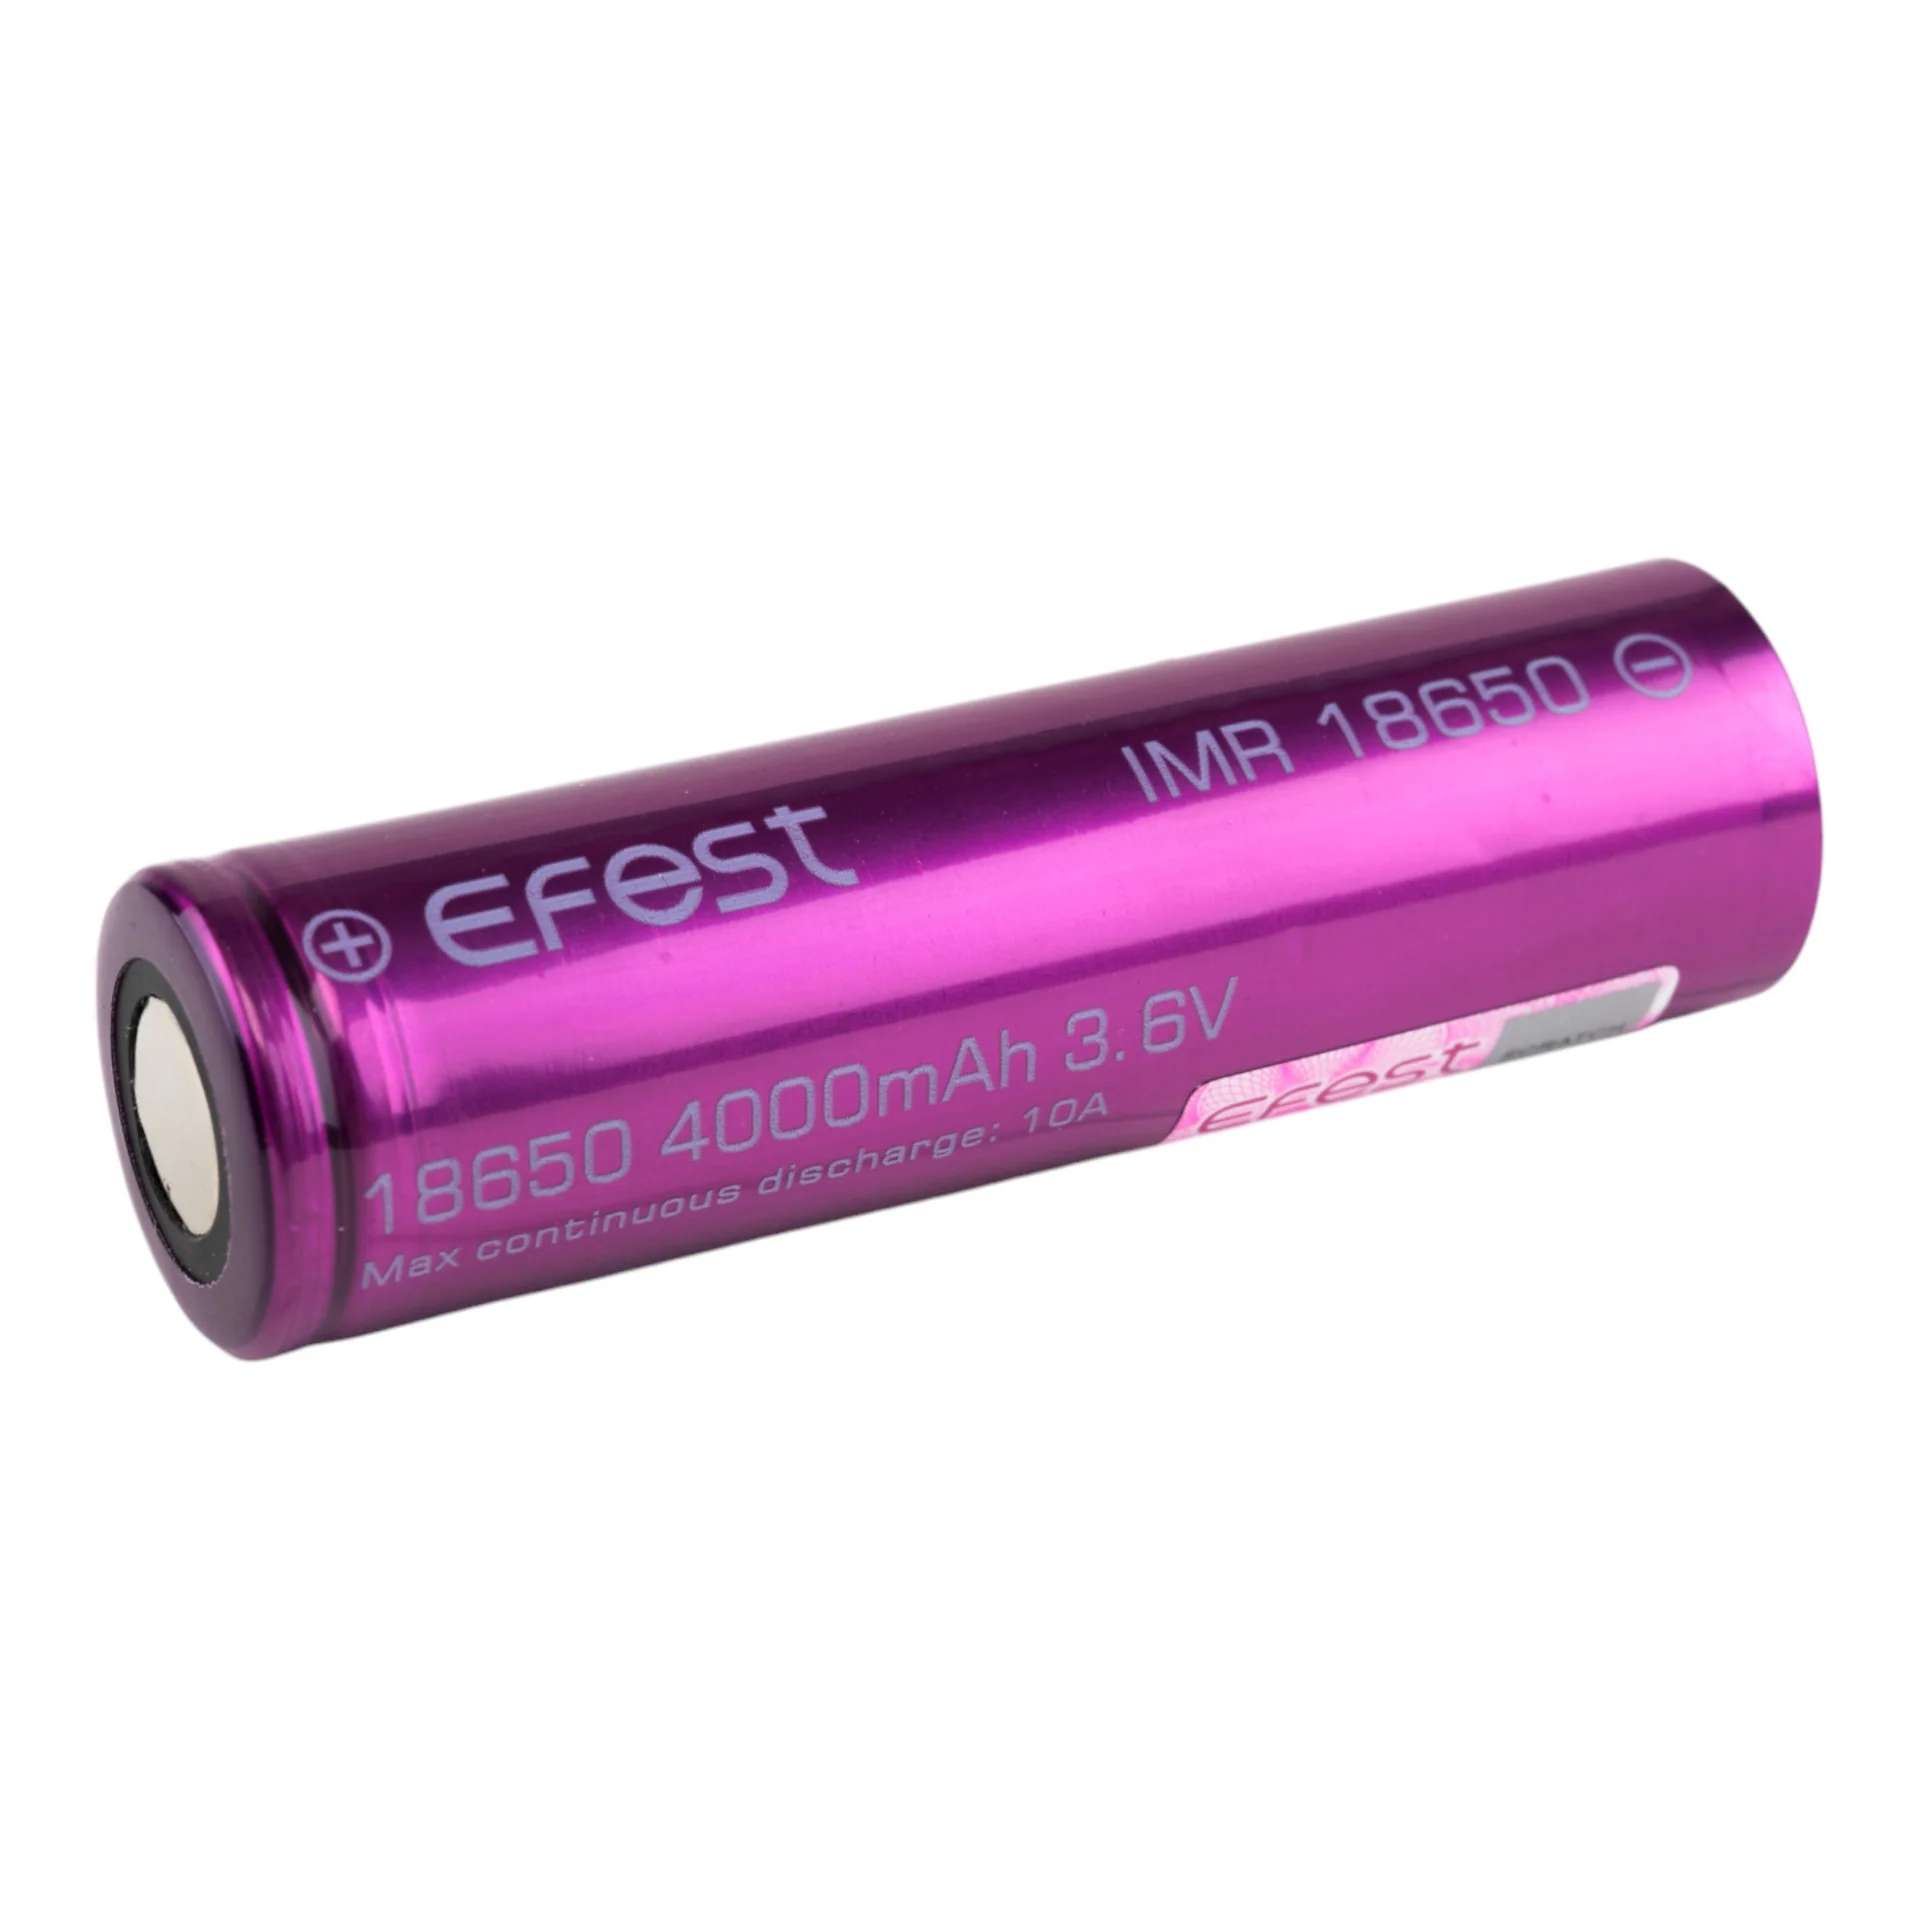
Use quality flat-top 18650 cells supported by the Red Reactor. Good batteries mean better runtime, more stable operation, and less disappointment when you actually try to use the thing away from the bench.
Instead of using a random USB battery bank and hoping the Pi does not throw a fit, this build uses a proper battery board under the Pi and a self-contained USB radio interface for a much cleaner portable node.
The Red Reactor provides regulated power to the Pi while handling battery support and making the whole setup much more usable in the real world.
The Raspberry Pi 3B+ runs GMRSHub or AllStarLink and manages the software side of the node without needing a full-size PC or more hardware nonsense.
The HotSpotRadio-USB provides the RF side of the node and connects directly to the Pi, keeping the setup compact and easier to transport.
The diagram below shows the core battery build and the optional solar add-on. Solar should feed a proper charge controller or regulated source before the Red Reactor input.

You do not have to install Linux first and then install node software later unless you actually want to. Both GMRSHub and AllStarLink have image-based paths for a Pi, which is the easiest way to get moving.
Keep it simple. Build and test it on the bench first, make sure it works, then worry about making it pretty.
Solar can be added to extend runtime or help charge the batteries in the field, but it should go through a proper charge controller or regulated output before feeding the Red Reactor input.
Solar panel to charge controller or regulator, then into the Red Reactor input. Not directly into the batteries. Not directly into some mystery wiring. Lithium cells are not the place to improvise like a goblin.
If you are using a GMRSHub image, do not blindly update system files unless you know exactly what that image expects. Doing random updates can pull in AllStar-side stuff and break the image. If you are building a manual AllStarLink install, that is different.
Actual runtime depends on cell capacity, Pi load, Wi-Fi use, radio transmit duty cycle, audio level, and whatever extra junk you hang off the Pi. Test receive-only first, then test realistic transmit use.
These are starter files to save time. They are not magic. You still need to set your node number, frequency, levels, and final details to match your build.
Starter simpleusb configuration for the USB radio interface.
Sample node stanza with safe placeholder values.
Quick notes for audio tuning and bench checks.
Example Python shutdown button script for Pi-based use.
Notes on what to edit first and where the files normally go.
Bundle with the page assets, SVG, and starter config files.
Portable does not mean foolproof. Here are the usual ways people sabotage themselves.
Confirm the USB radio is actually recognized, confirm your driver/config matches the device, and verify audio/PTT/COR settings instead of assuming the problem is magic.
Check battery condition, external power quality, cable losses, and attached USB load. A bad cable can absolutely be the villain here.
Small panels may only slow the battery drain instead of fully charging while the node is active. That is a sizing problem, not witchcraft.
Check antenna, frequency, deviation, placement, and expectations. Tiny low-power setups do not perform miracles just because the project looks cool.
Once the bench build is stable, the next step is packaging it cleanly, testing battery runtime, and deciding whether you want to add solar or a case. Adding a case is the most dificult part because of all the attachements. You will probably want an weather proff case because why will you build a portable NODE and not have a weather proff or water proff case?